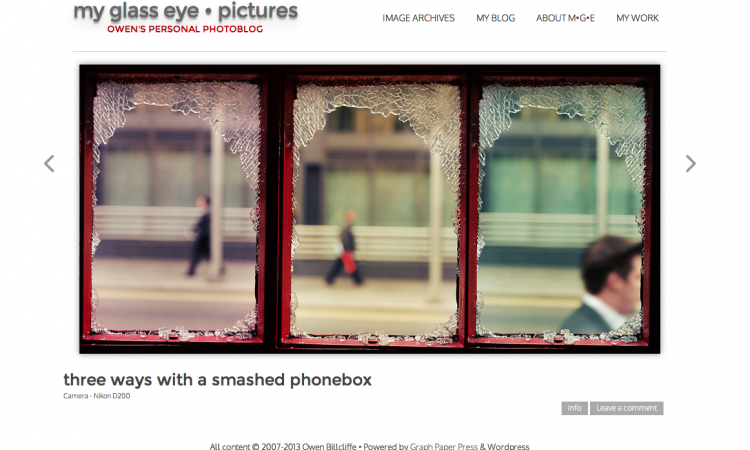
Until recently I’d been using Pixelpost to power my photoblog, ‘my glass eye • pictures‘ but that software is long in the tooth and not well supported any more. Times have moved on so I decided to migrate Pixelpost to WordPress. It was surprisingly easy with only a few little hiccups, all of which I managed to solve.
This post details how I did it – first I go through the basic steps you need to take to migrate your own Pixelpost photoblog to WordPress, then a section on the problems I had and how I solved them.
[toc]
What you’ll need
You’ll need the following no matter what:
- PixelPost to WordPress Exporter plugin by ElevenTwentySix. They ask for a (required) $14.95 donation which goes to The Leukemia & Lymphoma Society and it’s well worth it for the work it will save you.
- WordPress installed wherever you want to host the new version of your photoblog.
- a WordPress photoblogging theme set up however you want it. I went for Retouch Pro by Graph Paper Press.
Install & setup WordPress
Install WordPress to your server following their instructions. I installed it to its own directory on my site and once I’d completed the migration and was happy the site was ready to go live I moved Pixelpost out of the root directory and used the General admin page to run WordPress from my site’s address.
The most important part is that you must give your WordPress installation its own MySQL database. If you don’t, it’ll make wiping the database clean before importing your Pixelpost files damn hard, plus it’s just a good website housekeeping rule.
Once you’ve gone through the basic setup, now would be a good time to start looking for a theme to use.
Pick a photoblogging theme
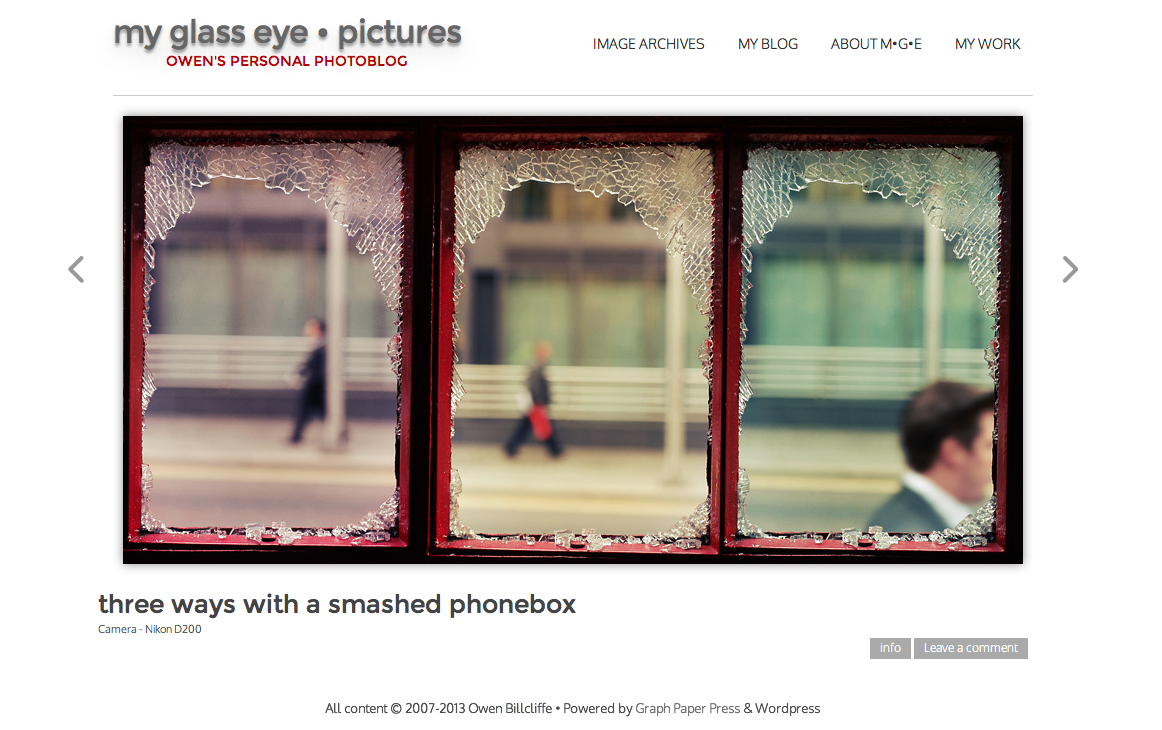 I went for Retouch Pro by Graph Paper Press. It’s a premium theme but it comes the closest to the look of my Pixelpost site and as a bonus the GPP support forum is excellent. If you’d prefer a free photoblogging theme there’s plenty out there if you do a quick search. Try a few different themes, make some test posts to see how each one works and what, if any, tweaks you’d like to make.
By the way if you find a really good one, free or premium, I’m sure others would love to know about it so give it a shout in the comments below.
Once you’ve picked a theme you need to establish the following things to make the import process go smoothly later:
- does it require images to be called using HTML in the post content, or does it just need an image to be ‘attached’? (in my case they just need to be attached)
- does it require Featured Images? (yes, mine needs those set in order to display an image)
- does it make use of a theme-specific post format other than Standard to display your photoblog posts? (yes, mine uses its own ‘Image’ post format)
Install optional plugins
One of the main advantages of WordPress is the huge library of third-party plugins to add functionality. Here’s a few that I highly recommend, or that may come in handy depending how your theme works:
- Akismet – a superb spam filter for comments. It comes already installed with WordPress, you just need to generate your own API code on their site.
- WordPress SEO by Joost de Valk (aka Yoast) – an essential plugin for sorting out SEO optimisation across your site as well as on individual posts. You should really take 15 minutes to go through the tour and set it up nicely.
- Google Analytics for WordPress by Joost de Valk – effortlessly set up your site with your Google Analytics account.
- SEO Friendly Images – this will automatically create Title and Alt tags for your images based on variables like post title and image name. Alt tags in particular are extremely important to search engines.
- Smart 404 – does a great job of intercepting requests that would normally result in a 404 error and sending the visitor to its best guess at what post they were looking for. If your Pixelpost URLs were in the form ?p=123 and you go for the vastly superior pretty permalinks in WordPress this won’t help so much, but it’s handy to have anyway.
- Auto Featured Image – many themes require Featured Images so this is extremely useful for automatically setting them on all your imported posts. It just takes the first attached image in each post and uses that, perfect for a ‘one-image-per-post’ photoblog.
- W3 Total Cache – caching plugins make your site run faster, something both your visitors and Google will appreciate. There’s several available and many schools of thought on which is the best and how they should be set up, but you can’t really go wrong with W3 Total Cache. Do a quick search for Yoast’s set-up guide, he knows his stuff.
When you’re done with your basic setup it’s time to wipe it clean in preparation for the import.
Prepare WordPress for import
Assuming you’re starting a brand new WordPress installation for your Pixelpost import, Jeff Mahoney, author of the ‘Pixelpost to WordPress Exporter’ plugin, recommends you only import everything after properly erasing any demo or test data you’ve created while setting it up.
However, if you’re trying to add your Pixelpost blog posts to an existing WordPress blog DO NOT DO THIS! You’ll wipe out all your posts and you won’t get them back. I can’t help with importing to an existing site but I’ve heard of others managing it so have a search once you’re finished reading this guide.
If, and only if, you’re starting with a brand new WordPress site, wipe the existing demo post, page and comment data by logging in to your host’s admin page (e.g., CPanel), navigating to PHPMyAdmin, and selecting the database you set up for this WordPress site making double and triple sure you’ve selected the correct one.
Then select the following seven tables and empty them:
- wp_commentmeta
- wp_comments
- wp_postmeta
- wp_posts
- wp_terms
- wp_term_relationships
- wp_term_taxonomy
Emptying these tables will also appear to remove any test images you uploaded to the Media Library but it doesn’t seem to remove the actual files from your server. Fire up your FTP app to check in the Uploads directory ([yoursite.com]/[wordpress]/wp-content/uploads) and physically delete any test images left behind.
You should now have a completely empty WordPress site ready to take your Pixelpost import!
Export .xml files from Pixelpost
 Okay, we’re nearly there!
First install the PixelPost to WordPress Exporter plugin to your Pixelpost site. You just drop it into the Addon folder in your PP installation and activate it from Admin.
Export settings
From the Addons page of Admin, scroll down to the options for the exporter. As well as the posts database you have the option to include references to the images themselves, tags, categories, and comments, add an ‘img src’ tag to your posts, specify the post author, and split the export.
Remember when you noted if your theme required an image to be called by HTML in the content of a post? If it does, the ‘img src’ option can save you some work by embedding it into the post content during the export so it’s already included when you import to WordPress. Don’t worry if you’re still not sure – leave it off for now and you can always run the export again later if it turns out you need it.
Splitting the .xml is useful if you have a large blog. Hosting servers often have a timeout enabled that is too short to upload a single large .xml file, so splitting the export into multiple files just means you import smaller chunks within the timeout limit.
Don’t worry about the Author selection, you can set the Author during the import process later.
Everything set up the way you want it? Okay – export!
Keep the resulting .xml files together in a folder called something like ‘PP Export 1’ – you might want export again with different variables so it’s best to keep everything clearly labelled.
At this point you’re probably ready to import. However, if you noted that your WordPress theme requires photoblog posts to be set to a specific post format type other than Standard, skip down to the section on potential problems before going further – we may need to do a little fixing first.
Import .xml files to WordPress
All your .xml files are ready? Here we go, this is the fun bit!
Log in to your WordPress admin pages and select Tools -> Import in the sidebar. Select ‘WordPress’ and it will ask you to install the WordPress Importer plugin so go ahead and do that.
Now import each of your .xml files in order, selecting your user account to be set as the Author, and ticking the box for importing media attachments.
As each file imports don’t browse away from the page, just wait. Eventually you should see a list of the posts imported successfully and a ‘Success’ message at the bottom – at this point import the next file. Remember that one of the files, usually the first, contains just metadata and so won’t show any posts imported.
If you get a ‘fatal error’ message regarding a timeout, don’t worry! It just means there was too much work to do before the server timeout kicked in. Simply run the importer on the same .xml file a second time and it’ll skip straight to the posts it didn’t get last time coz it’s clever like that 😉
If you like, double check the Posts and Media pages after each successful import to check the tally is going up accordingly.
Once you’ve successfully imported all your .xml files… that’s it, you’ve migrated your Pixelpost photoblog to WordPress!
Potential problems and suggested solutions
The very first time I tried this two years ago it all went a bit wrong on a number of fronts. However, it was all fixable so here’s some problems you may experience, and a solution to try:
Your theme requires Featured Images to work
The import process will grab your images from your Pixelpost site and attach them to the correct posts, but won’t set a Featured Image. This is no problem – just grab the Auto Feautured Image plugin via the ‘Plugins -> Add New’ page and run it.
The plugin does currently say it’s not been updated in quite a while, but I’m on WordPress 3.6 and it worked. If you’d prefer something newer there are other plugins that appear to do the same thing.
‘Fatal Error’ timeout during the .xml import
As mentioned above, this isn’t as fatal as it sounds, it just means the .xml file was a bit too big for the importer to do its thing before the server timeout cut it off. Simply run the Importer on that .xml file again and it will pick up where it left off. Splitting the Pixelpost export into more chunks can help prevent it happening.
Importing doesn’t grab the images
First, are you sure you checked the ‘images’ box when exporting from Pixelpost? If you did and it still didn’t work there could be a number of reasons, but in my case it was a problem with the filename for around 300 of my images – I’d included a space in them. I was new to running a website back then and didn’t realise you shouldn’t have spaces in filenames!
PixelPost had dealt with this by replacing the space with %20 in the URLs so the images would load. However, the .xml file recorded by the PixelPost exporter left the space in the filename and hence the URL, so the WordPress Importer wasn’t able to find those images.
Jeff Mahoney, the creator of the PP Export plugin, was an absolute star and talked me through how to solve this:
- run the Export plugin using the existing ‘bad’ image filenames
- log into the server with an FTP app and create a duplicate of Pixelpost’s ‘images’ directory
- isolate all the bad filenames in the duplicated image directory and replace the space with an underscore
(I did this step by downloading the images directory to my Mac, renaming it ‘imagesfixed’, using an Automator action to rename the bad files and uploading this directory to the root of Pixelpost alongside ‘images’.)
- go into the XML files and do two Find & Replace actions; the first to rename the image references using the underscore; and the second to find all references to the ‘images’ directory path and replace it with the ‘imagesfixed’ directory path.
- run the WordPress Import tool on the edited .xml files.
This worked flawlessly – thanks, Jeff!
Your theme uses a post format other than ‘Standard’
My chosen theme, Retouch Pro, requires photoblog-formatted posts to be in their custom ‘Image’ post format but the WordPress Importer places them all in the Standard format by default.
You used to be able to change the post format for multiple posts at once using the Bulk Edit option on the Posts page, but a recent update took that facility away. It’s been raised as a feature request over at the WordPress development pages but there’s no telling if or when it’ll return.
I thought I was going to have to manually switch all 650 posts by hand, until I stumbled across a crafty workaround: I switched one of my posts to the Image format manually then I exported it to an .xml file and had a look through the contents in a text editor. Sure enough there was a line amongst the meta that designated the Image post format.
I copied this line, then opened my original Pixelpost-exported .xml files and did a ‘Find & Replace’ to drop that crucial line into the same section of code for each of my 650 posts automagically. Then I wiped my WordPress clean (again!) and re-imported using my edited .xml files. This imported all the posts as before, but set them all to ‘Image’ – success!
 I’d been telling a friend recently about how Unblock Us works and how we’re getting much more value from our Netflix sub with it, and he asked if it would work on websites other than ‘streaming media’ sites or offer any VPN functionality.