Categories
ExcludeTop7 How-Tos iOS & Mac how-tos

How to stream to XBMC on an Apple TV 2 from a Lion Mac using Playback

Note: before we start, if you’re not already using XBMC to stream to your AppleTV, give my article about Firecore’s ATV Flash a read first – it’s a little easier to set up than XBMC and may solve all your problems.

I’ve been using a jailbreaked (is that a word? should it be jailbroken?) AppleTV 2 and XBMC to stream media from my Snow Leopard Mac for about a year now. It’s awesome.

And then Lion came along and broke it.

Like many people, I was using the SMB method to get media to the XBMC installation, but Lion apparently uses a new, Apple-made variant of the SMB protocols which the XBMC and/or the ATV2 doesn’t like. Now, there are ways around this by switching to NFS for example but I have had no end of hassle getting NFS to work properly despite a lot of input from friendly folks like memphiz at the XBMC for iOS forums. I presume I’m doing something wrong, but it’s beyond the scope of my technophilia right now and in the meantime I need a way to watch my media.

Enter Playback by Yazsoft. It streams all your stuff to a variety of devices, such as PS3, XBOX 360, even XBMC and Plex installations, through UPnP. There’s other software that does similar things, such as Connect360 and Rivet, but Rivet doesn’t work on Lion and besides, it just got end-of-life’d (thanks for nothing, guys!) while Connect360 is kinda ugly on your 360 as it doesn’t respect your folder structure and dumps the entire contents of every folder into one long list. Yuck.

Playback, on the other hand, is Lion compatible and when I read it supported XBMC, that’s all I needed to know.

UPDATE: I should have added in the original review that there is one drawback to Playback – it doesn’t support metadata or artwork. That’s half the joy of XBMC, I know, but at the point I wrote this it was media only or nothing at all. In the latest Dharma version of XBMC for ATV2 they’re trying a new method for connecting to your Lion machines but it wasn’t playing nice with my setup for some reason; you may still find Playback useful.

So, if you’re on Lion, using XBMC on your AppleTV 2, and need a simple solution to fix the streaming, try this:

1) Download the Playback demo
2) Set up the preferences so that it’s got access to your media folders
3) Go to your XBMC app on your ATV2
4) Go to Videos and set up a new share
5) Click Browse
6) Select UPnP Devices
7) When the Playback installation for your computer appears, select it (in my case it was SithLord Playback)
8) Select the folder you want to use as a source (in my case I have a Films folder and a TV folder – you can only do one at a time so pick one for now)
9) Give it a name within XBMC
10) Save it

If you have multiple folders you want to share, repeat steps 4 to 10.

Now check it works. I haven’t found a way to make it appear in the TV or the Movies menus that XBMC displays as default, but everything is findable via the Videos menu, no problem.

Once you’ve got it working and you’re happy with it, head back over to Playback and buy a license, which is £10. Until then it limits your streaming to 30 minutes at a time and 2 videos per day.

Now, full disclosure, I’m hoping to get a free license for writing this blog about the app (see here), but I didn’t let that sway my opinion of Playback. This morning it has proved to be a painless way of getting ATV2 XBMC streaming working from my Lion iMac, and has the added bonus of working on my 360 as well, just in case I temporarily brick my ATV2 with further tinkering in the future (it’s happened before!).

So I hope this helps anyone that’s having trouble with their ATV2/XBMC since updating to Lion. Ideally I’d like to get my NFS shares working at some point but in the short term Playback has most definitely been a head-ache free alternative – with that caveat that artwork and metadata don’t show up.

Thanks for reading. If you’d like to comment on anything I’m @myglasseye on Twitter.

Categories
How-Tos iOS & Mac how-tos

One way to fix an iTunes ‘Error 1013’

Last night I was updating my iPhone 4 to iOS 4.3 (from 4.2.1) and it got almost all the way through until it sought to verify the update with Apple and failed with error code 1013. The support document said this was likely to do with security software preventing iTunes from connecting to Apple but I had no problems with the iTunes Store (usually a dead giveaway) so I looked further and found that it’s to do with the hosts file on the computer needing a line edited.

I was just about to give it a try when I stumbled across references to the application TinyUmbrella causing this problem. I have used TinyUmbrella to grab the SHSH blobs for my AppleTV 2 so that I could jailbreak it safely (jailbreaking the ATV2 is highly advisable as it makes the device incredibly useful for things like XBMC). There’s actually a preference setting in the TinyUmbrella app that automatically alters the hosts file so that it forces checks to go through Cydia and not Apple and therefore allow jailbroken iOS software to go undetected.

Open the app, click the Advanced tab, uncheck the box marked ‘Set Hosts to Cydia on Exit’ and the update problem goes away.

Thought I’d post this in case it helps somebody else with the same problem without having to go editing the hosts file themselves.

Categories
How-Tos iOS & Mac how-tos

iPhoto libraries and Dropbox – a warning!

You may be considering syncing your iPhoto libraries between various machines using Dropbox. I tried this recently and it works, but there are some serious caveats, that if you ignore could result in wiping out a lot of your iPhoto changes. Skip to the last paragraph if you want the short version, but for those who get some strange thrill from reading a stranger’s data disaster tales, read on.

So, I recently upgraded to the 50GB Dropbox account as I wanted to be able to sync a large quantity of photos between my iMac and MacBook Pro so that I didn’t have to be tethered to the desk in order to sort and edit them, then make an iPhoto book out of them.

As I started the process of making the book I knew I would have to sync my iPhoto libraries as well. Now, I don’t use iPhoto for anything other than making calendars at Christmas, and the occasional book. I turn off the feature that copies photos into iPhotos catalogue as I prefer to leave them where they are. I also create a new library for each project (although I think that as of 2011 I’ll just keep all of each year’s projects in one library named for the year).

First of all I backed up my libraries by duplicating the entire folder in which they are kept, then zipping it down. Then I created a symbolic link to the original folder and dropped that into Dropbox. That’s a hefty amount to share so I had to leave it overnight to get the contents up onto the server and down onto my MBP.

Once done, I was pleased to see that there appeared to be absolutely no problems. Everything I’d been doing on iPhoto on my iMac prior to syncing appeared in the MBP iPhoto installation. Remembering that with such ‘hacks’ I would need to make sure only one copy of iPhoto was running at a time (to avoid save version conflicts) I got cracking on the book in iPhoto on the MBP.

Yesterday I decided I wanted to continue the book on my iMac for a change. I’d done a lot of work the day before on the book, and that evening had hidden the app away while my wife browsed the net, and then had left the laptop closed and charging on the coffee table overnight as always.

So without thinking, I fired up the iMac copy of iPhoto and as soon as the book loaded I was hit full force in the guts – none of the prior day’s work was there and with a burst of searing adrenaline I realised why.

I hadn’t quit the MBP iPhoto the night before. It was still running, with all of the changes to the book on it, albeit hidden away in the dock. I had a sinking feeling that Dropbox hadn’t been able to upload the new changes to the server and download them to the iMac.

I quickly quit the iMac app and reached for the MBP to pop out the iPhoto app from the dock where it was idling and check all was well. All my work was still there, THANK GOD. However, my mind was starting to work through what had happened.

I could see from the menu icon that Dropbox had started doing a lot of syncing on both machines. I thought through what was going on and came to the conclusion that iPhoto probably makes final saves to the library on Quit, and Dropbox is probably only able to properly sync the changes to the libraries at that point, ready to be used when the app is next launched on whichever machine. I’d closed the MBP the previous evening without quitting iPhoto and, therefore, without letting Dropbox copy the library properly to the iMac.

Then I’d launched the iMac version with an old library, from two days ago. Then I’d quit that version in a panic. And it had started syncing at that point…

With a grim feeling of doom I relaunched the MBP iPhoto and sure enough, in the last two minutes all my work had been wiped out. While Dropbox had been trying to upload the MBP’s newer iPhoto library, it had downloaded the older and freshly saved iMac library and overwritten all my work. And now the newer library was gone for good.

There was no happy ending here – I’ve thought through every possibility. My MBP is meant to be a ‘floating’ computer and hence is never backed up either locally or to the cloud, Dropbox excluded (not that it would have helped in this case for the above reasons). If I had been working on the iMac and forgotten to quit, there was a chance that the days work would have been backed up to my external drives or to Dataflame overnight, but as it was my work was toast and I’ve had to redo it today from memory.

The lessons here are:

  • when it comes to Dropbox-syncing iPhoto libraries between two machines, make absolutely DAMN sure that only one copy of iPhoto (and by extension only one iPhoto library) is being used between the two machines;
  • always make sure that when you finish on one machine you Quit the application and then physically watch Dropbox start and complete the sync between both machines;
  • make sure the DB menu icon has stopped animating on both machines, and ideally manually check the ‘modification date’ on the iPhoto library in question on the target machine before you launch iPhoto on that machine.
  • Here endeth the lesson…

    (PS, I just spent my lunch recreating the lost pages, which only numbered around 8 or so in the end, and I’m confident they’re actually better now I’ve had a second go at them. I still wish I’d never had to do it in the first place)

    Categories
    How-Tos iOS & Mac how-tos

    how to sync your Macs with Dropbox – for free!

    Dropbox.jpgHappy Christmas, everyone! I hope you all got what you wanted and/or what you deserved. 😉

    My Christmas treat to myself was to spend the evening geeking out with my Dropbox setup. It’s a free service that basically allows you to keep certain files constant across multiple machines. You create an account, download software to the machines you want to use and it creates a folder called ‘Dropbox’ on those machines. Whatever you put in the Dropbox on your computer is uploaded to the server space (where it’s secure unless you mark it ‘Public’), and is subsequently downloaded to the Dropbox folders on all the other machines you’ve set it up with, maintaining consistency no matter what machine you use.

    It’s probably easier to understand if you just try it. It’s completely free, works with Macs, PCs and iPhones – sign up via my links and you’ll even get 250MB extra space on top of the standard 2GB, as will I. Plus, if you follow five of the six ‘Getting Started’ tips once you’ve signed up you get another 250MB free!

    I’ll admit I wasn’t sure what to use it for at first. However, combined with the free iPhone app that accesses your server space, I found it was useful for syncing work documents like callsheets or scripts, as well as being a simple and free way to distribute large files like zip archives of photos for friends and clients.

    Finally, I started using it instead of the Sites folder for storing the local copies of the code that runs my websites so that I can make edits on my iMac and be able to pick them up later on the laptop, with no effort copying the files between the two machines.

    However, I felt like I was missing out on some cool uses, so I started investigating syncing the settings of regularly used applications ike Safari, iCal, Address Book, Things and 1Password, and this is how I did it.

    Categories
    How-Tos Photography how-tos

    you have to start somewhere

    BOY_0038.JPG
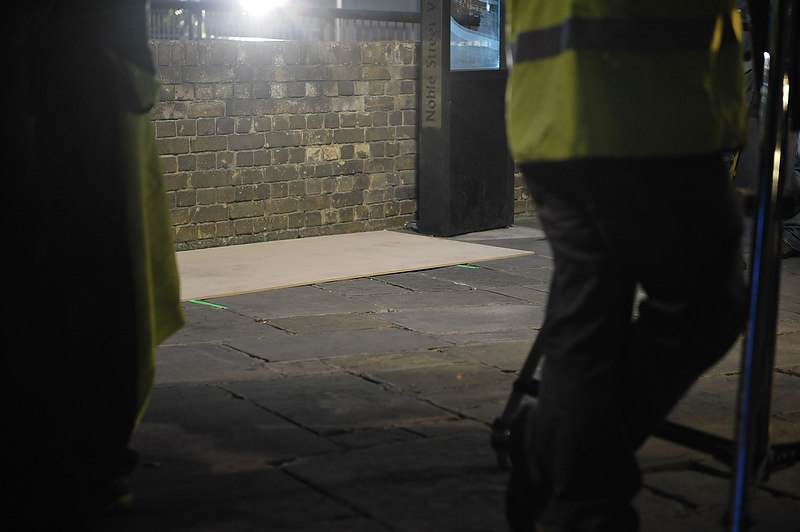
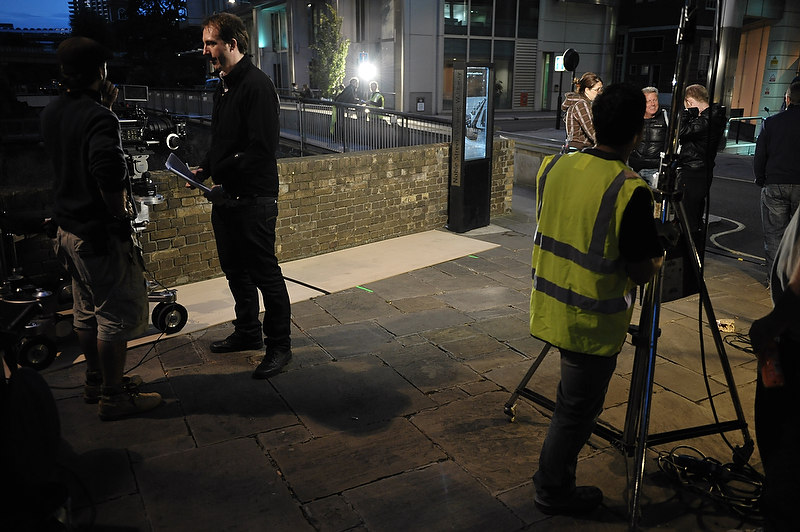
I’m on another short film doing stills this weekend – another freebie but I’m fortunate enough to have another stream of income right now so I can afford to do a few freebies for friends. It’s a great source of experience and gets me some more shots for the portfolio. Plus, in the past these projects have allowed me to meet other professionals who then take me onto paid work with them. This post is about what happens when I get to the first day on a new production, and specifically the first 10 shots (or thereabouts) I take to get me going.

    This film is called The Golden Boy and the man calling in the favour is Danny Bishop (operating the camera on the left here), a talented camera operator with whom I worked on Reuniting The Rubins earlier this year. He’s the sort of man who inspires total confidence and trust so it’s a pleasure to work with him, and indeed at least half the crew on this short came from Rubins.

    It’s a 3-day shoot, working overnight from dusk till dawn on the streets of London. On day one a lot of people will be seeing new faces, although there’ll also be a lot of people who have worked together in the past. Within each department people will generally know each other already, as that’s how everyone gets work – they’re hired by someone they’ve worked for before who liked them.

    The the first thing I try to do is introduce myself to the 1st Assistant Director, the 2nd if they’re around (they’re usually back at the unit base), and any of the 3rds I can find. The 1st is running the set while the director works with the creative aspects, and on occasion I might not be able to get the shot I need due to camera position. In those cases it’s the 1st that will be able to get a scene run again just for me, so it’s essential to have a good relationship with him or her. I’ll say hi and let them know my name, find out if there’s anything I need to know already, shoot the breeze for a couple of minutes if there’s time, and then let them get on with their extremely busy job.

    Then I find the camera crew and say hello to them when I get a chance, although the conversation is generally a lot shorter because they’ll be focussing very intently on their own roles tending to the camera, especially on the first day when everyone is making sure that the first shot goes off without a hitch. I’m going to be hovering very close to them a lot of the time and I need them on my side so I make a very good point of remembering names (which I’m pretty awful at these days!) and then finding somewhere safe to hide while they’re running back and forth with lenses and cables and tape measures and actors marks.

    Now I get my camera set up, once I’m comfortable that people in my immediate vicinity know to expect a stills camera pointed at the action. Got to start somewhere so I’ll either make an educated guess at the settings and fire a shot off, or I’ll just fire one off with whatever I’ve already got programmed in and go from there. I’ll almost always shoot manual settings on a film because the lighting is set up to remain constant.

    Here’s my first shot. It’s shot on aperture priority as that’s what my camera was on when I pulled it out the bag:

    BOY_0010.JPG
    ISO 1600, f/5.6, 1/160, Cloudy

    Way underexposed! The bright light in the middle is set up down the street pointing back at the actors for both fill and backlight, depending on where the actors are standing. It’s firing straight into my lens, and so aperture priority mode has screwed up his eyes and wailed “Too bright!” and produced a fast shutter. Next shot I switch to Manual mode and slow down the shutter.

    BOY_0011.JPG
    ISO 1600, f/5.6 1/50, Cloudy

    The shutter is now dragging too long really. At 1/50 I’ll never get frozen motion, and probably lots of camera shake, and it’s still underexposed. I’m going to have to put the ISO up past 1600 – good thing I’ve got a D700, eh? Those boards have been laid down to smooth the track on that the camera will make on the dolly (the wheeled trolley it’s attached to). Usually dolly tracks will be used, which the grooved wheels ride on, but it’s possible there wasn’t enough budget for them on this short.

    BOY_0013.JPG
    ISO 2500, f/2.8, 1/25, Sunny

    Much more light getting in now. Why did I make the shutter even slower? I’m not sure. Bit daft, really. By the way, the stand on the right is supporting the main light for this location. I’m not great with the names of lights. Let’s just say it’s a big one, and it’s got a huge softbox over it, probably about 5 feet square.

    I can see that the white balance is going to have to change, probably to Tungsten, and I can now afford to pull the shutter back to something much more reasonable. Shutter first:

    BOY_0015.JPG
    ISO 2500, f/2.8, 1/60, Sunny

    That’s better. Way too warm, and still a bit bright really. 1/60 is about as slow as I’ll go on a film if a scene is relatively static and I absolutely need the light, but is still useless for freezing motion enough for my needs.

    Time to switch the white balance:

    BOY_0017.JPG
    ISO 2500, f/2.8, 1/125, Incandescent (Tungsten)

    Now we’re pretty much there. Good shutter speed, good white balance. Feels a little cold – even though I’m shooting RAW so I can tweak it all later if I have to, I’d rather get it as close as dammit right now so I don’t have to faff around later. I know that’s the luxury of RAW, but I think you can get bogged down in that and I’ll cheerfully argue the point with those that criticise not taking advantage of the post-processing freedom RAW gives you. Get it right in the camera and I can spend more time on the couch at home.

    Next shot I try what I perhaps should have done in the first place – I try Auto White Balance:

    BOY_0018.JPG
    ISO 2500, f/2.8, 1/125, Auto WB

    See, the camera thought tungsten all along. But just that tiny bit warmer, and you know I agree. However, I’m not given to trusting living in Auto settings for film stills because they can change from shot to shot given what’s in the frame, and I need consistency over a long period, so I go back to Tungsten and warm it up in-camera.

    BOY_0019.JPG
    ISO 2500, f/2.8, 1/125, Tungsten A5

    Tungsten A5 refers to the D700’s warmer/cooler tweaks for white balance. Cooler is B1-5. It looks good to my eye and if it’s not right later, I can still always tweak. I think it’s good. So I grab a wider shot to check once more:

    BOY_0021.JPG
    ISO 2500, f/2.8, 1/125, Tungsten A5

    It’s perhaps a bit bright – films are almost always underexposed compared to what a stills camera says is a good exposure, but I’ll wait till the actors are in the shot to see how the light plays on them. One last shot, decently framed at last!

    BOY_0023.JPG
    ISO 2500, f/2.8, 1/125, Tungsten A5

    And now I’m ready to go! Over the course of the next two hours my settings rarely changed, except I did go up to ISO 3200 and had to move my shutter speed around from 1/80 to 1/160 depending on where the actors were. They moved around the corner of the wall and it was a lot darker on the other side, plus I felt some my shots were a bit bright overall so will bring them down around half a stop in Capture NX2 today.

    Hope this was interesting reading to someone – you’ve got to start somewhere and sometimes it’s to shoot full auto and tweak those settings if they’re pretty good, other times I just work it one setting at a time, putting the ISO up only when I’m dipping into slow shutter territory.

    I’ll post a few shots from the shoot once I’ve finished on it – I’m back there on Sunday night. Thanks for reading!